Summary:
Why Roof Installation Process Matters More Than Materials
You can buy the best shingles money can buy, but if they’re installed incorrectly, you’ll have problems within years instead of decades. The installation process determines whether your roof handles Monmouth County’s coastal winds, heavy snow loads, and the temperature swings that cause materials to expand and contract.
Quality materials installed poorly fail fast. Average materials installed with precision last longer than they should. That’s why our installation process focuses on the details that most contractors skip—proper underlayment placement, correct flashing techniques, and shingle layers that actually shed water instead of trapping it.
The difference shows up during the first major storm. While your neighbors deal with leaks and emergency repairs, your roof keeps working because every step was done right from day one.
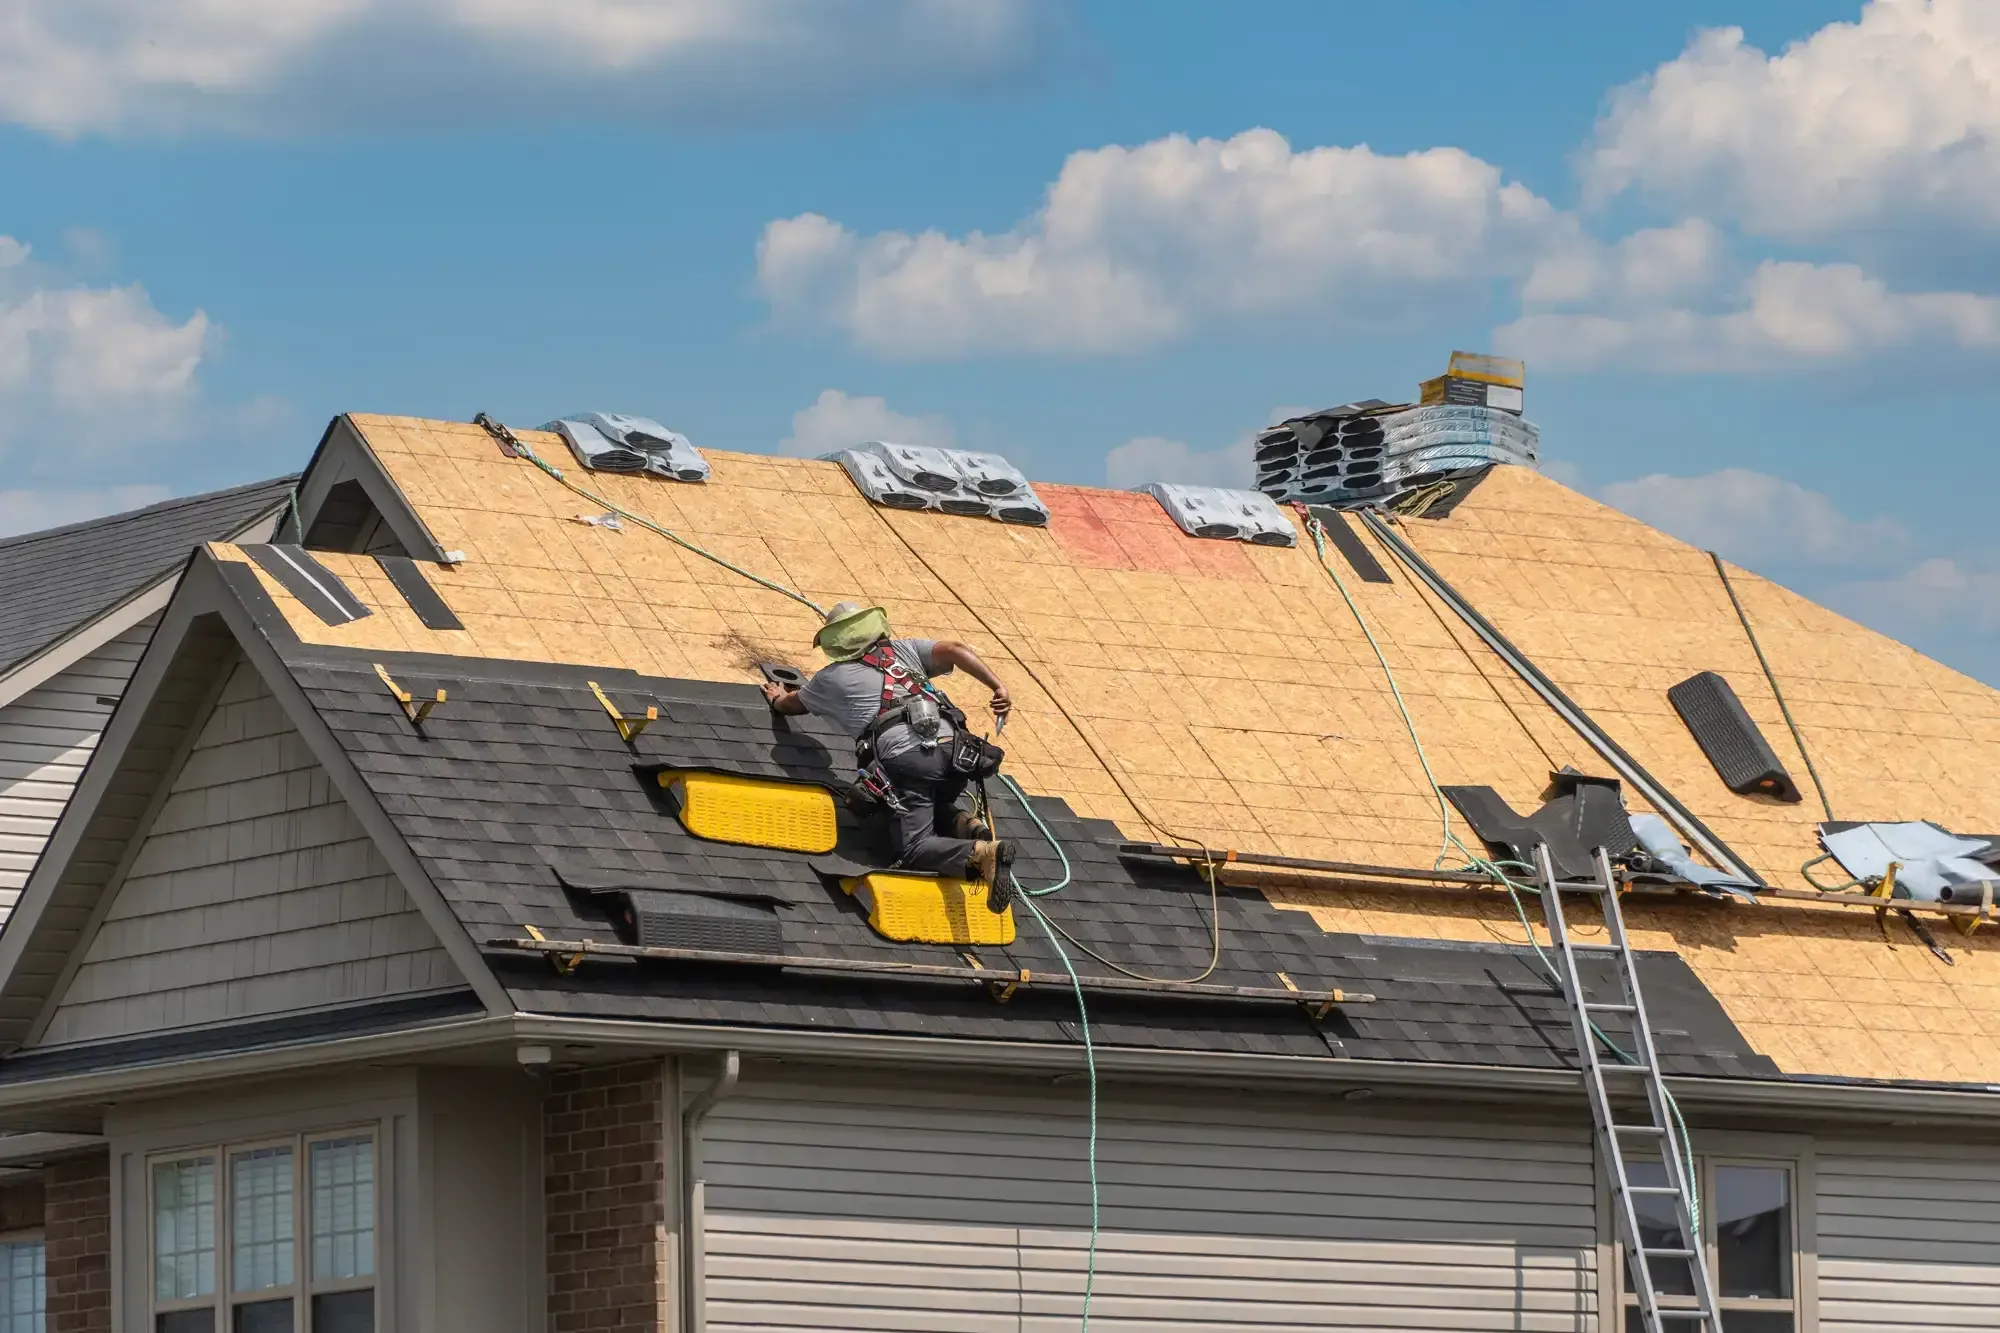
The Foundation Layer: Underlayment Importance and Installation Standards
Your shingles are the first line of defense, but the underlayment is what keeps you dry when shingles fail. Most contractors treat underlayment as an afterthought. We treat it as the foundation of your roof’s protection system, understanding that underlayment importance cannot be overstated in coastal New Jersey.
We start with synthetic underlayment that won’t tear during installation or deteriorate over time like traditional felt. The material gets installed in precise overlapping patterns—not the random approach you see with rushed jobs. Each section overlaps by exactly three inches to shed water without creating weak points where moisture can penetrate.
Around penetrations like vents and chimneys, we install ice and water shield that seals around every nail shank. This creates a secondary waterproof barrier that prevents the slow leaks that cause the most damage over time. The membrane extends at least 24 inches beyond the interior wall line to handle ice dam conditions that are common during Monmouth County’s harsh winters.
Critical areas like valleys and eaves get extra attention because that’s where most roof failures start. We don’t just lay the material down—we ensure it’s positioned to direct water away from vulnerable spots. The installation follows manufacturer specifications exactly, which is crucial for maintaining warranty coverage and ensuring long-term performance.
Flashing Repair and Installation: The Details That Prevent Failures
Flashing repair becomes necessary when the original installation cuts corners, but proper flashing installation prevents those problems entirely. Flashing failures cause more roof problems than worn-out shingles, but most homeowners don’t understand what flashing does or why it matters. Flashing is the metal barrier that directs water away from roof penetrations and transitions.
We install step flashing around chimneys and walls in individual pieces that overlap with each shingle course. This allows the roof to move with temperature changes without breaking the seal. Continuous flashing looks cleaner but fails faster because it can’t flex with the roof’s natural movement during Monmouth County’s freeze-thaw cycles.
Around pipes and vents, we use boot flashing that creates a watertight seal while allowing for expansion and contraction. The flashing gets embedded in roofing cement and covered by shingles in a specific sequence that ensures water never finds a way behind the barrier. Each piece is sized correctly—typically 10 inches long and at least 2 inches wider than the shingle exposure.
Valley flashing requires special attention because that’s where the most water concentrates during heavy rains. We use pre-formed 28-gauge galvanized metal valley flashing that’s wide enough to handle peak water flow without backing up under the shingles. The installation sequence matters—ice and water shield first, then valley flashing, then shingles in the correct overlapping pattern.
Most roof leaks trace back to flashing that was installed quickly instead of correctly. We take the time to do it right because fixing flashing problems later means tearing apart sections of your roof and dealing with potential water damage to your home’s interior.
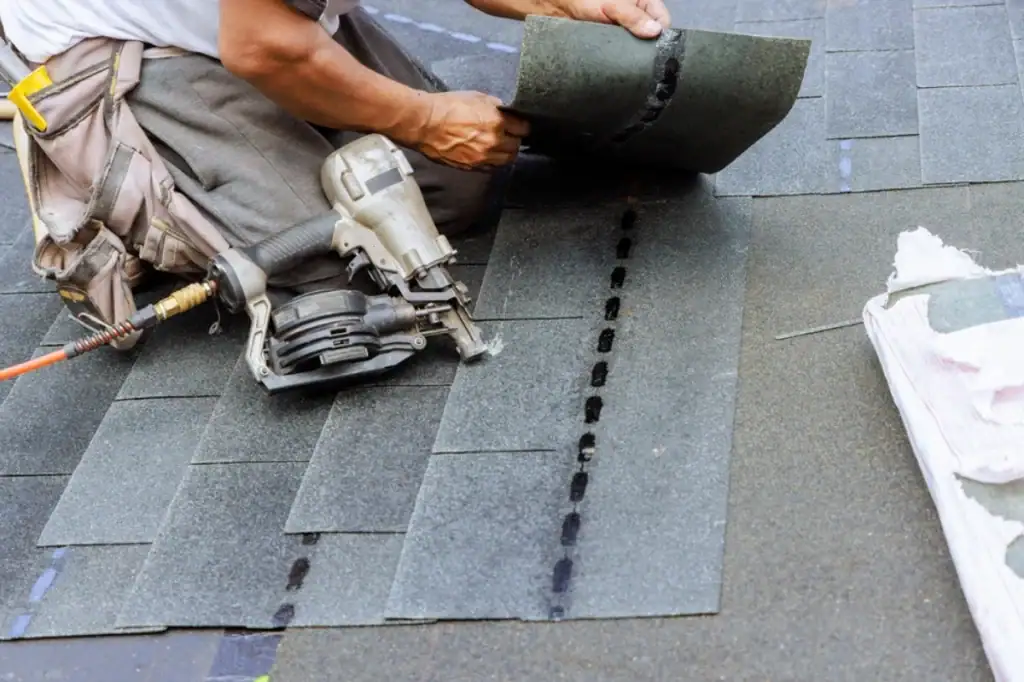
Shingle Layers and Professional Installation Standards
Shingle layers installation looks straightforward until you understand how many ways it can go wrong. The pattern, spacing, nailing, and alignment all affect how well your roof sheds water and resists wind damage. Get any of these installation standards wrong and you’ll see problems within the first few years.
We start with a starter course that provides the proper base for the first row of shingles. This isn’t just upside-down shingles like some contractors use—it’s actual starter material designed to create the right seal and overhang. The starter shingles are thinner than regular shingles, allowing the first course to lie flat and providing better adhesion to prevent wind uplift.
Each subsequent course follows precise exposure measurements that ensure proper water shedding and wind resistance. For architectural shingles, we maintain consistent 5⅝-inch exposure. The nails go in specific locations with the right depth—not so shallow they pull out during high winds, not so deep they damage the shingle material.
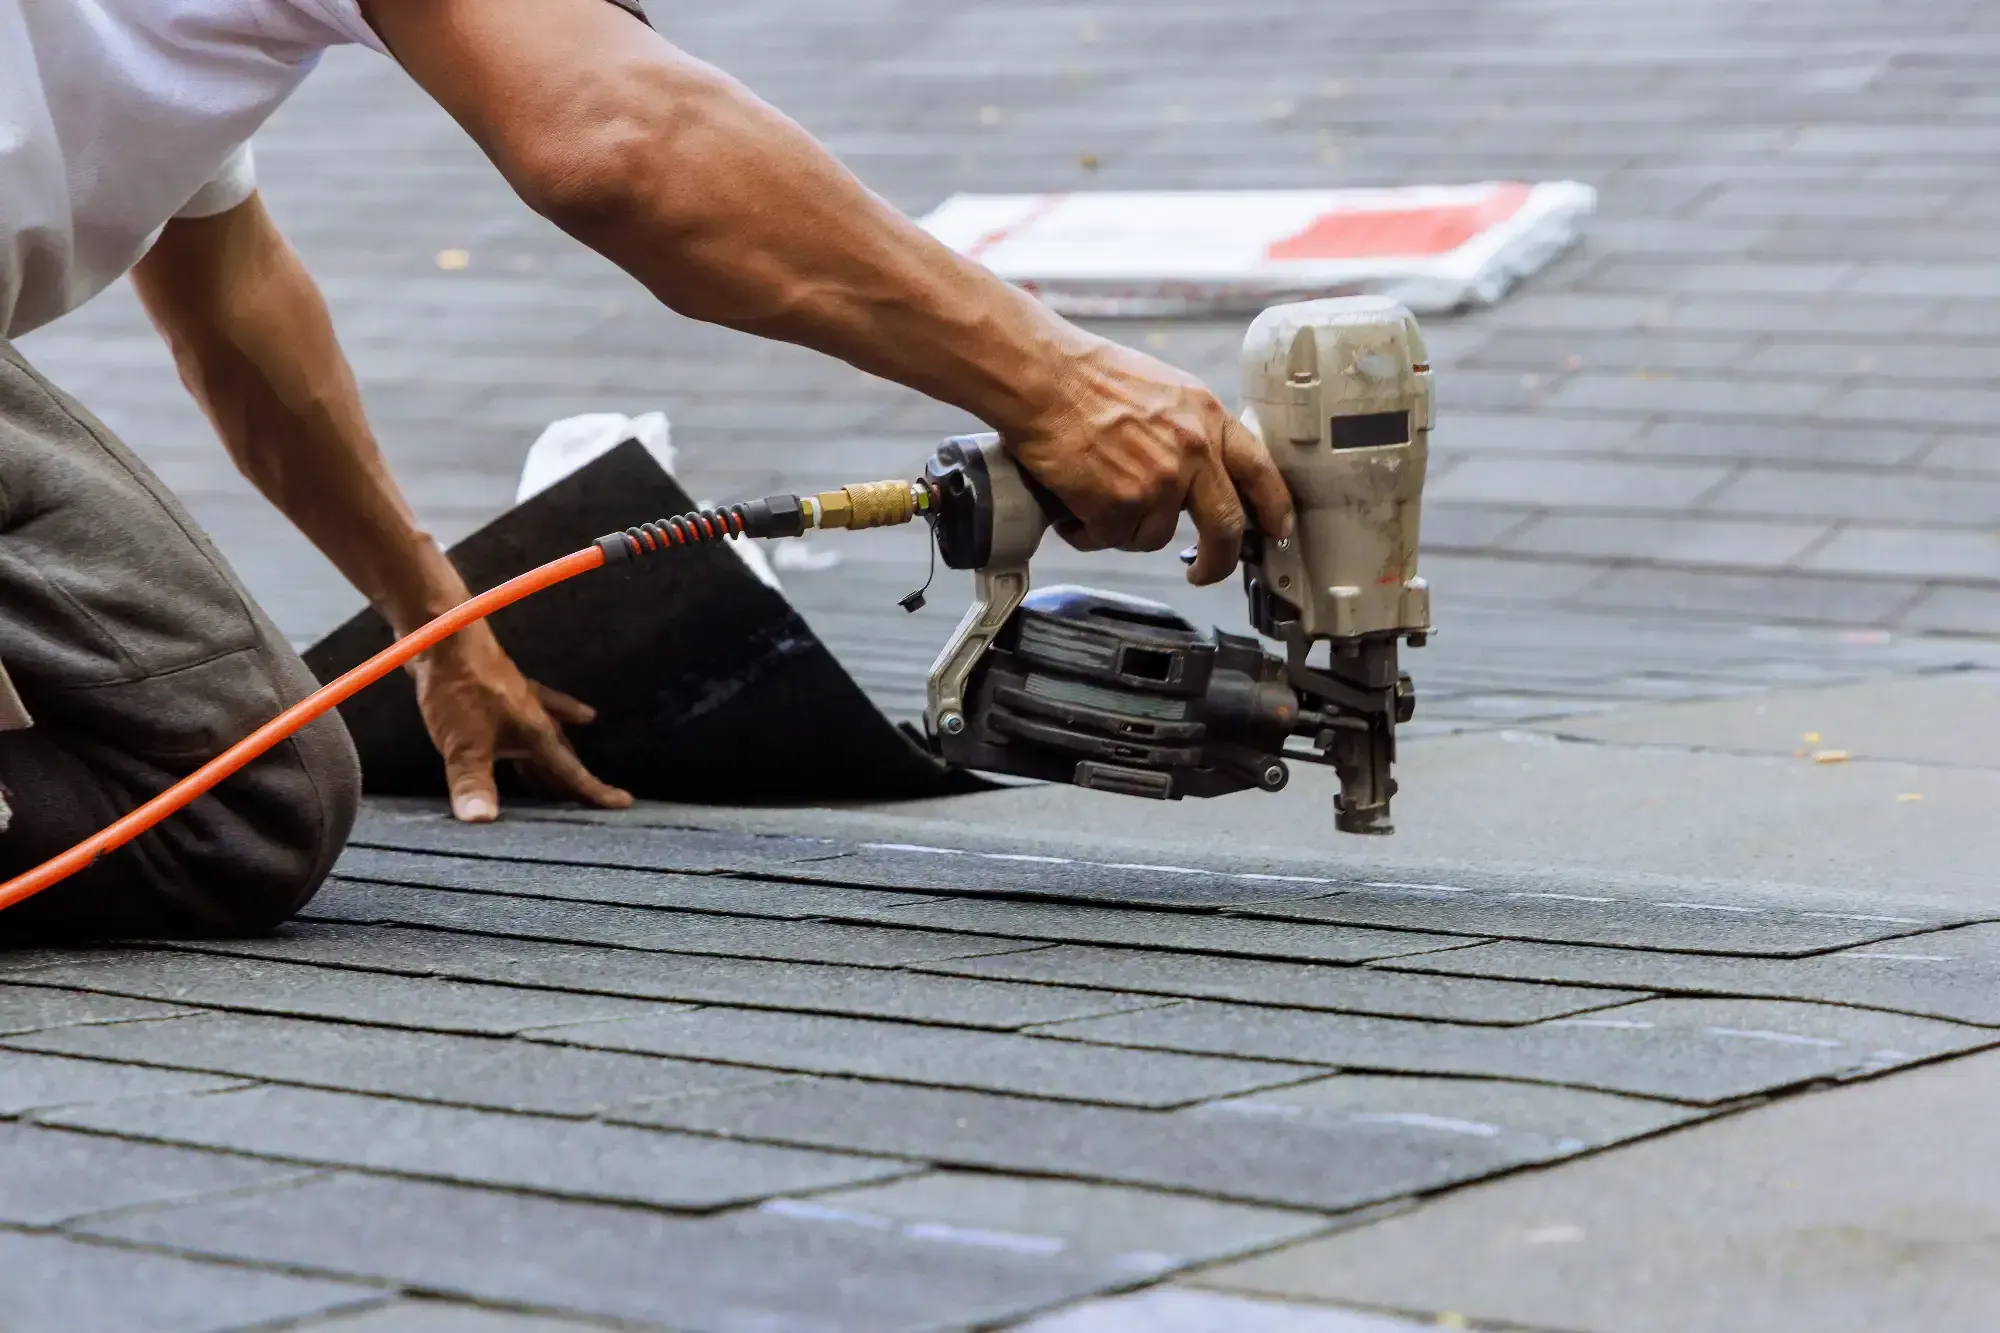
Proper Nailing Patterns and Fastener Placement
Most roof failures during high winds happen because shingles weren’t nailed correctly. It’s not just about using enough nails—it’s about putting them in the right spots with the right technique. We follow manufacturer specifications exactly because that’s what validates your warranty and ensures performance during Monmouth County’s coastal storms.
Each shingle gets six nails placed in the nail zone marked on the shingle. Nails that go too high don’t grab the shingle below properly. Nails that go too low create holes in the exposed area where water can penetrate. The depth matters too—nails driven flush with the shingle surface provide optimal holding power without cutting through the material.
We use 1¼-inch galvanized roofing nails with 12-gauge shanks for standard roof deck applications. Ring-shank nails provide better holding power in plywood, while the galvanized coating resists corrosion from salt air exposure. Using the wrong fasteners is a common shortcut that leads to problems when the first major windstorm hits your area.
The nailing pattern also needs to account for your roof’s wind zone rating. Monmouth County’s coastal location requires enhanced nailing patterns in high-wind areas to meet code requirements and manufacturer specifications. We know these requirements and apply them consistently across your entire roof, not just in obvious high-wind zones.
Hand-nailing versus nail guns is an ongoing debate in roofing. We use pneumatic nailers with proper pressure settings to ensure consistent nail depth and placement. The goal is consistent penetration and holding power without overdriving or underdriving the fasteners, which can compromise the shingle’s integrity and wind resistance.
Quality Control and Permit Process Compliance
Having our owner present on every job isn’t just marketing—it’s quality control that prevents problems before they happen. While other contractors send crews out unsupervised, our owner checks every critical step to ensure it meets our standards, your expectations, and local building requirements. Although New Jersey no longer requires permits for most roof replacements, we still follow all installation standards as if an inspector were coming.
We inspect the roof deck before any materials go down, identifying and fixing soft spots or structural issues that could cause problems later. If we find issues like damaged decking or inadequate ventilation, we discuss them with you immediately rather than discovering them halfway through the job when it’s more expensive to fix.
During installation, we check alignment, exposure, and nailing patterns continuously. It’s easier to correct a problem when you catch it early rather than after several courses are already installed. This attention to detail is why our installations look professional and perform reliably for decades, not just until the warranty expires.
Weather monitoring is crucial during installation. We don’t install materials in conditions that compromise their performance or your roof’s protection. If weather threatens during installation, we secure everything properly with tarps and temporary protection rather than rushing to finish and potentially compromising quality.
The final inspection covers every detail from flashing seals to ridge cap installation. We walk the entire roof looking for any issues that need correction before we consider the job complete. You get a roof that’s ready to protect your home for decades, backed by our 30-year labor warranty and 20-year workmanship guarantee.
Professional Roof Installation That Delivers Long-Term Protection
When your roof installation is done right, you don’t think about your roof during storms—you just stay dry and comfortable while your neighbors deal with leaks and emergency repairs. That’s what happens when every step of the installation process focuses on long-term performance instead of quick completion.
Our 12-step process addresses every detail that affects your roof’s performance, from the foundation underlayment layer to the final cleanup. With our owner personally overseeing every job and backing the work with a 30-year labor warranty, you get installation that’s built to last through decades of Monmouth County weather.
If you’re ready for roof installation that eliminates problems instead of creating them, contact A Russo Roofing & Siding. We’ve been protecting Monmouth County homes for over 40 years because we do the work right the first time.