Summary:
You’re researching standing seam metal roofs because you want more than another roof replacement in 15 years. You want a system that handles New Jersey’s coastal weather, looks sharp, and justifies the investment. The challenge isn’t just choosing metal over asphalt—it’s understanding what separates a properly installed standing seam system from one that underperforms.
What you’ll find here is straightforward information about how these roofs work, what installation actually involves, and why contractor expertise matters as much as the material itself. No sales pitch, just the details that help you make a decision you’ll feel confident about for decades.
Standing Seam Metal Roof Systems: Design and Performance Benefits
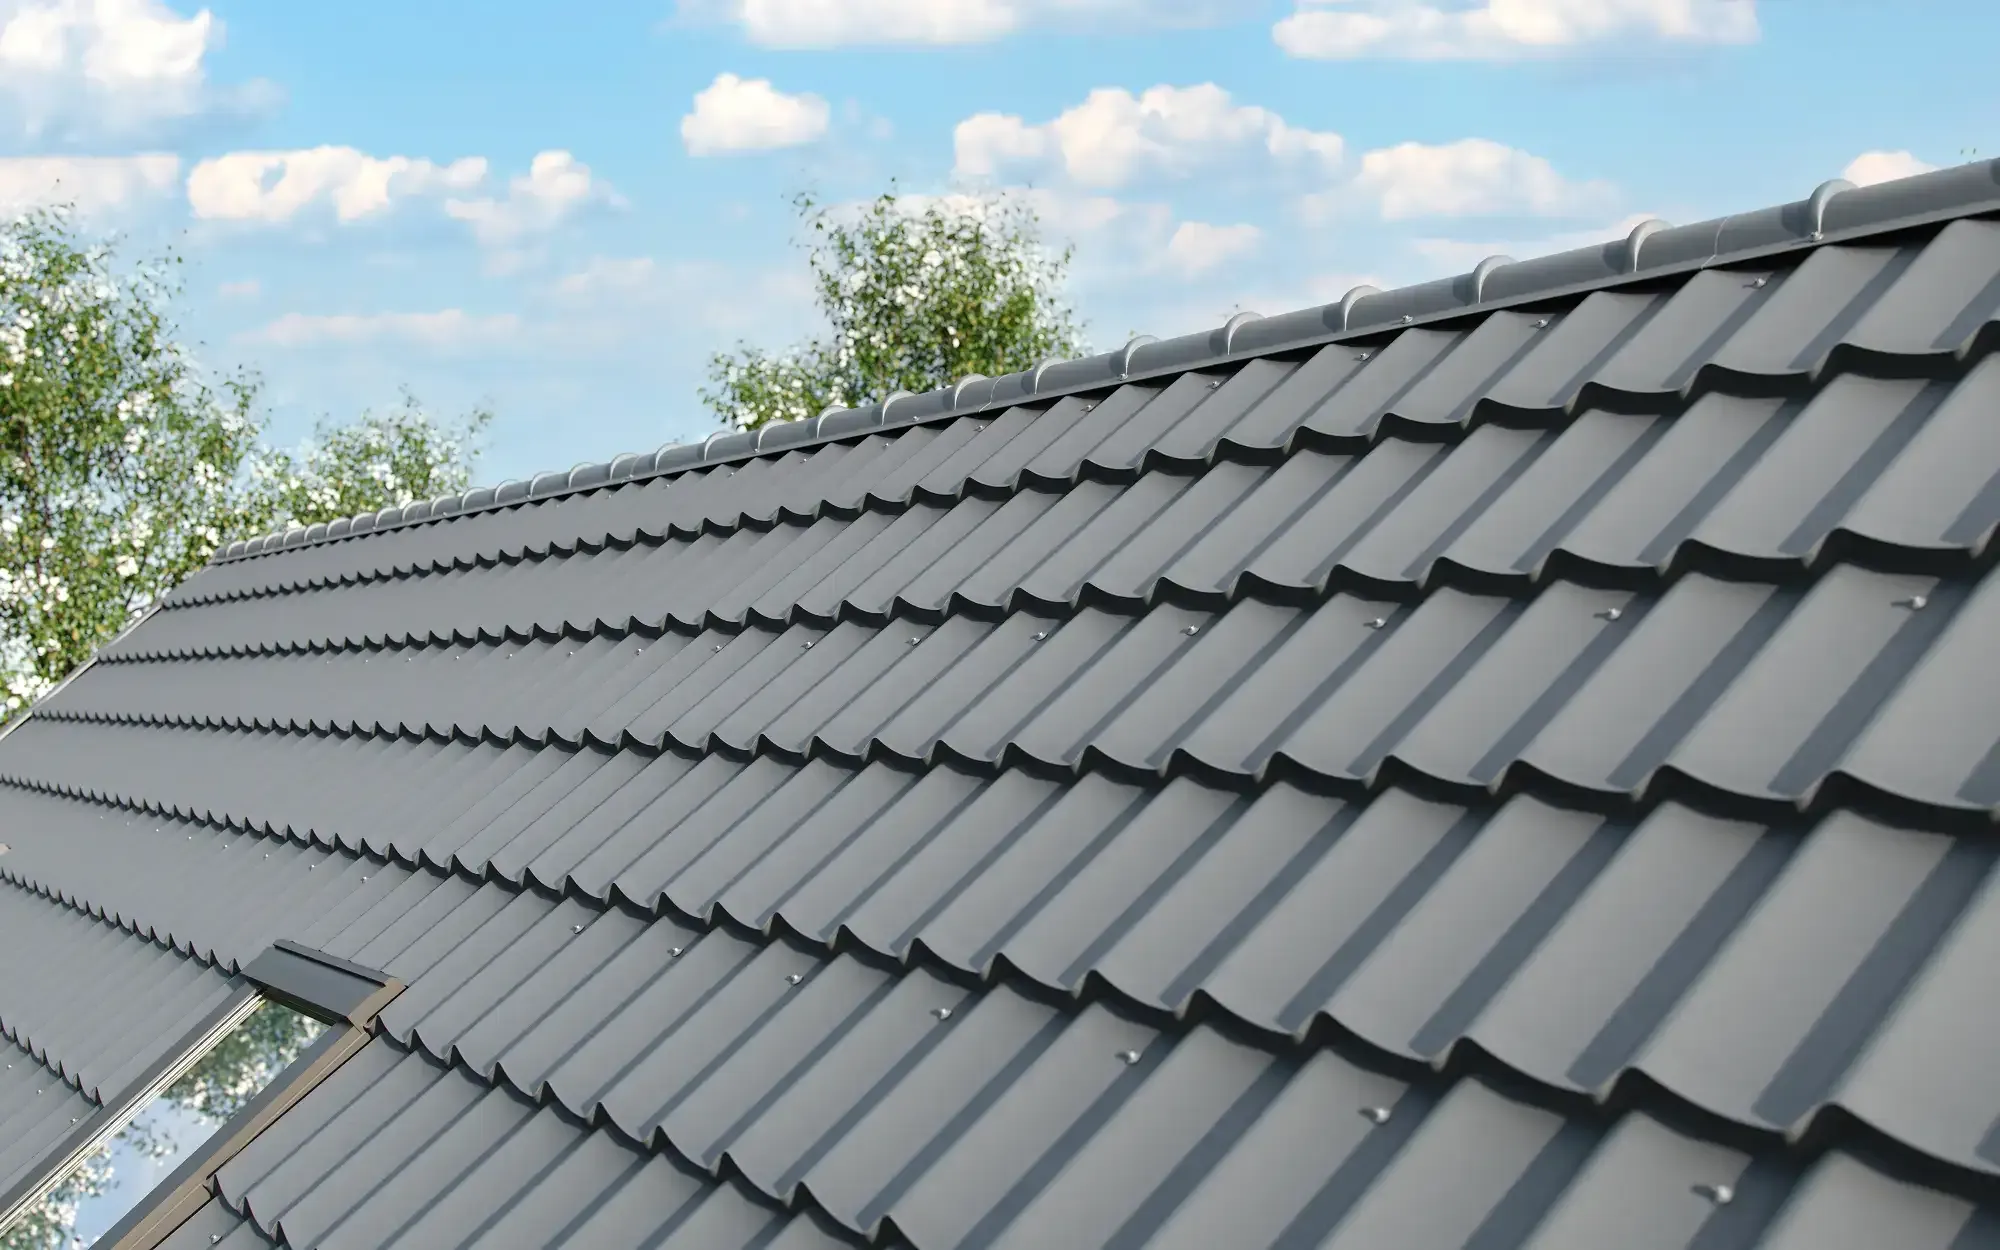
A standing seam metal roof uses vertical panels that run from your roof’s ridge down to the eaves, with raised seams connecting each panel. Those raised seams sit 1-2 inches above the roof surface, and here’s why that matters: every fastener that secures the panels to your roof deck hides beneath those seams. You’re looking at a roof with zero exposed screws on the field of the panels.
Compare that to exposed fastener systems where thousands of screw holes penetrate the metal surface. Over time, those screws back out as metal expands and contracts with temperature changes. Rubber washers degrade from UV exposure. Each screw hole becomes a potential entry point for water. Standing seam eliminates that vulnerability entirely.
The panels themselves are typically 24-gauge steel, which is about 30% thicker than the 26-gauge metal used in exposed fastener systems. That extra thickness provides structural rigidity and prevents oil-canning—the visible waviness that can appear in thinner metal panels. When you’re investing in a roof that should last 40-70 years, material quality and design matter.
How Concealed Fasteners Protect Against Coastal Weather

Monmouth County’s location means your roof faces conditions that accelerate typical roofing failures. Salt air from the Atlantic carries microscopic particles that settle on every exterior surface. That salt is hygroscopic—it actively pulls moisture from the air and holds it against your roof, even when humidity drops.
With standing seam metal roofing, the concealed fastener system means those corrosive elements never touch the attachment points. The clips that secure panels to your roof deck sit completely protected beneath the interlocking seams. There’s no direct exposure to salt spray, no constant moisture contact, no UV degradation of fastener heads.
This design proves especially valuable during nor’easters and heavy rain events common along the New Jersey coast. Water runs down those raised seams and off your roof without ever encountering a fastener penetration. The interlocking mechanism creates a continuous weather-tight surface from ridge to eave. You’re not depending on sealants around thousands of screw holes to keep water out.
The system also handles thermal movement without compromising weather protection. Metal expands when temperatures rise and contracts in cold weather. Standing seam panels attach with clips that allow this movement while maintaining the seal. The panels can shift slightly without stressing fasteners or creating gaps. That’s critical in a climate where summer temperatures can hit 90°F and winter nights drop below freezing.
For coastal homes specifically, marine-grade coatings on the metal surface provide additional protection against salt corrosion. These aren’t standard paint finishes—they’re PVDF (Kynar 500) coatings engineered to resist fading, chalking, and breakdown from constant salt exposure. The combination of concealed fasteners and premium coatings addresses the accelerated aging that coastal roofing materials typically face.
Standing Seam Metal Roofers: What Qualifications Actually Matter
Not every roofing contractor has the skills to install a standing seam system properly. This isn’t about questioning anyone’s general roofing competence—it’s recognizing that metal panel installation requires different expertise than asphalt shingle work. The tools are different. The techniques are different. The margin for error is smaller.
A qualified standing seam roofer should have at least three years of specific experience with metal panel systems. That experience shows in how they handle panel layout, which determines whether your roof looks balanced and performs correctly. The first and last panels need to be cut to equal widths. Pipe penetrations should land in panel centers, not at seams. These details require planning before the first panel goes down.
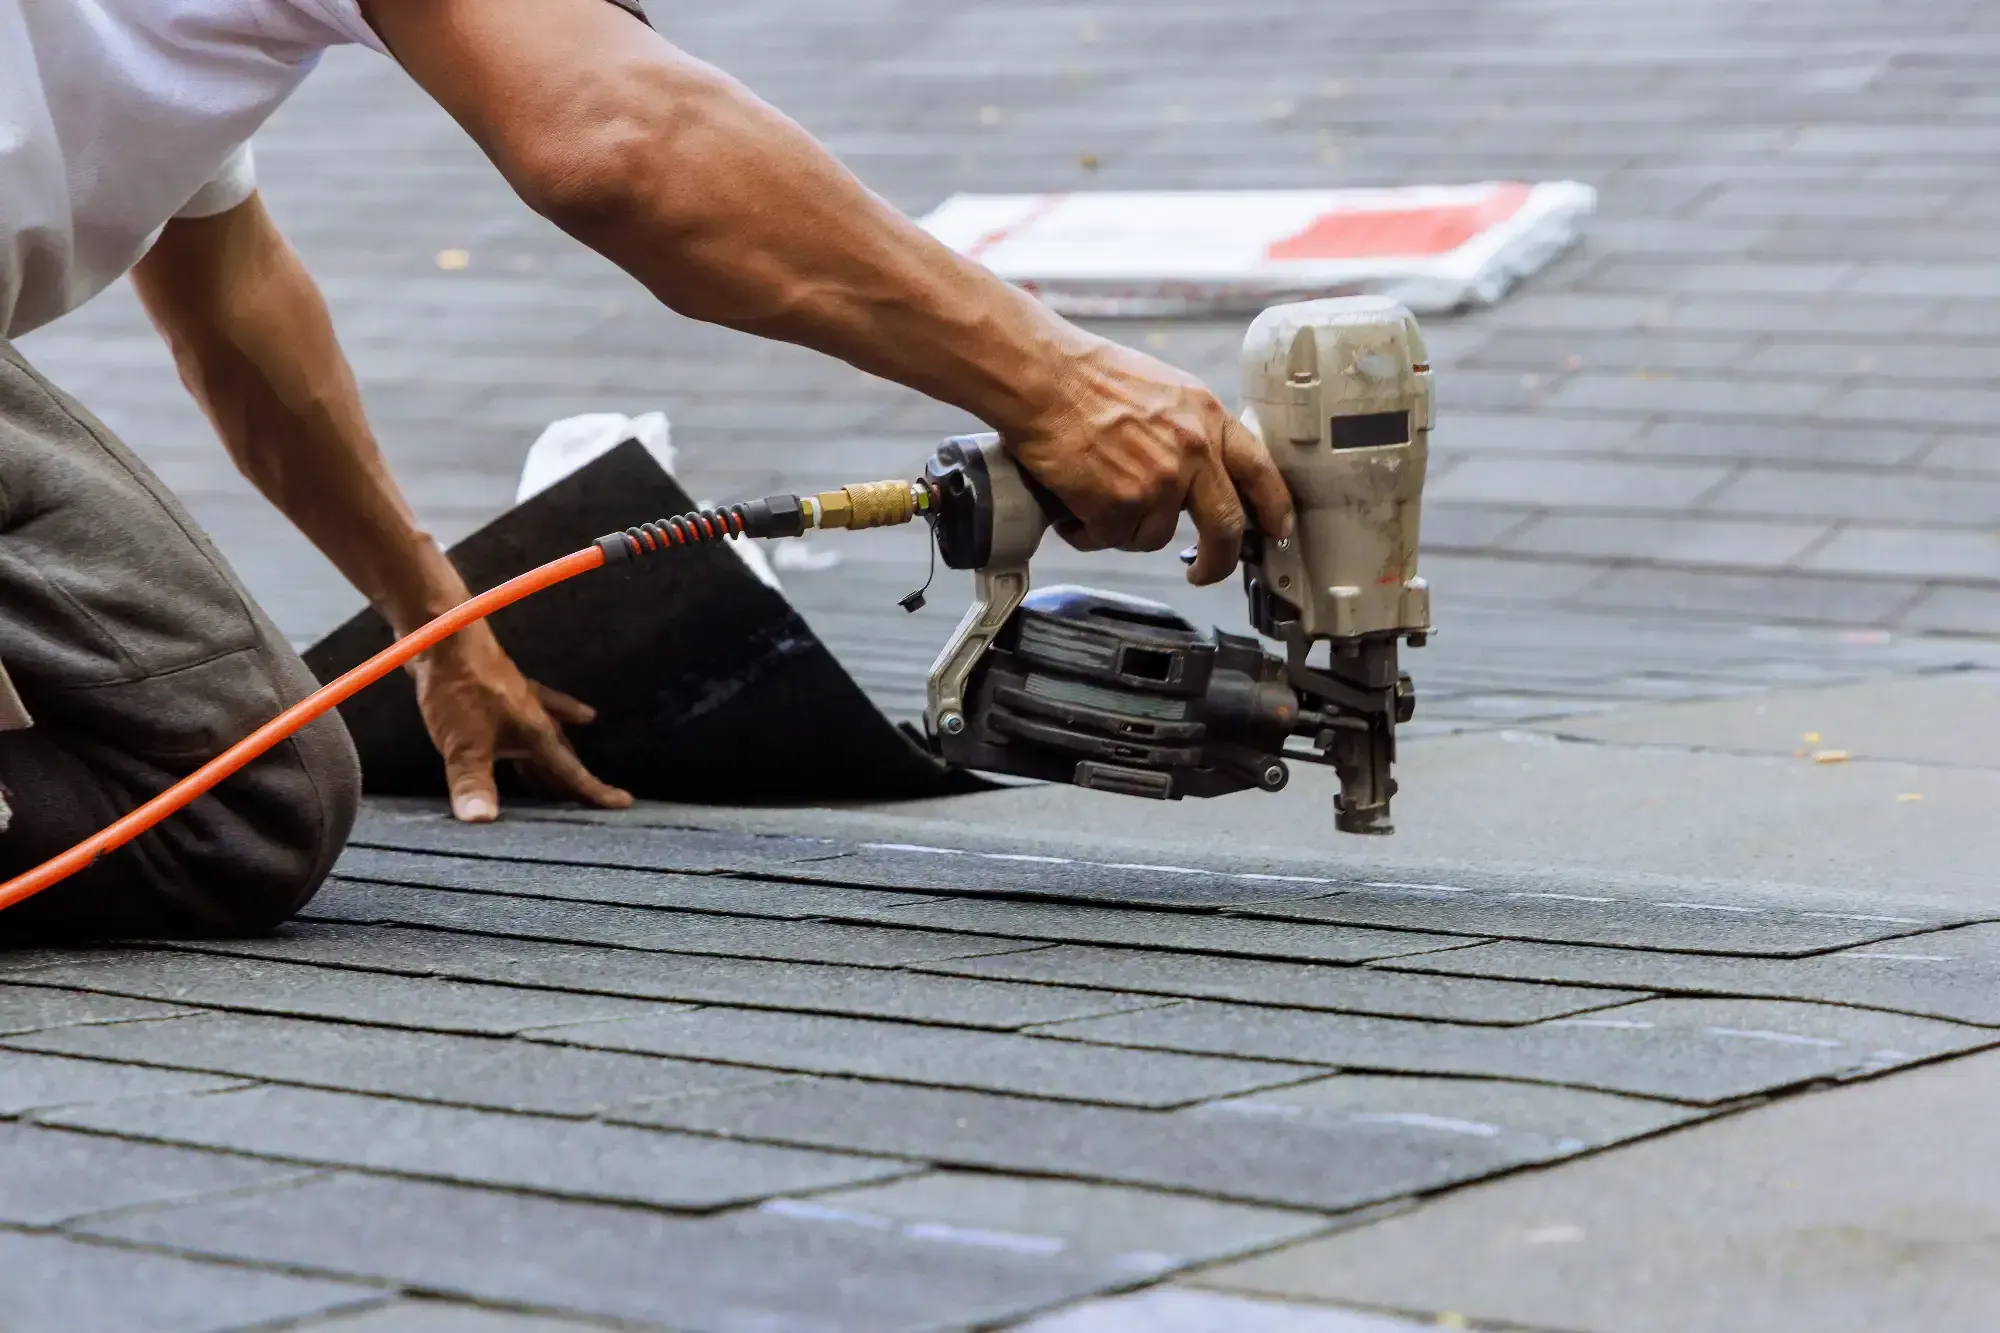
Seam formation is where installation skill becomes most visible. Panels connect through either snap-lock systems or mechanical seaming. Snap-lock panels click together, which sounds simple but requires consistent pressure along the full panel length to ensure there aren’t gaps. Mechanical seaming uses specialized tools to crimp the two panel edges together, creating a weather-tight connection. Both methods demand precision—inconsistent seaming creates weak points where water can infiltrate.
Clip spacing and attachment also separate experienced installers from those learning on your roof. Clips typically space 16-24 inches apart along each panel, with closer spacing (12 inches) in high-wind coastal areas. Each clip must attach to solid roof decking with fasteners driven to proper depth—not so shallow they pull out, not so deep they dimple the metal. The clips allow thermal movement while securing the panels, but only if installed correctly.
Flashing integration around chimneys, skylights, and roof penetrations requires custom metalwork. Experienced standing seam metal roofers know how to form and install these details so water directs away from vulnerable areas. Poor flashing work undermines even the best panel installation. You’re looking for contractors who can show you photos of completed projects with clean flashing details, not just finished roofs photographed from the street.
Insurance and licensing verification isn’t exciting, but it protects you. A legitimate contractor carries general liability insurance (minimum $1 million coverage) and workers’ compensation for their crew. They should provide certificates without hesitation. Check that their contractor license is current with your state licensing board. If something goes wrong during installation, these protections matter significantly.
References from recent local projects give you real information about how a contractor works. Call those references. Ask if the crew showed up when promised, if they cleaned up daily, if any problems came up and how they were handled. Ask if they’d hire the same contractor again. The answers tell you more than any marketing material.
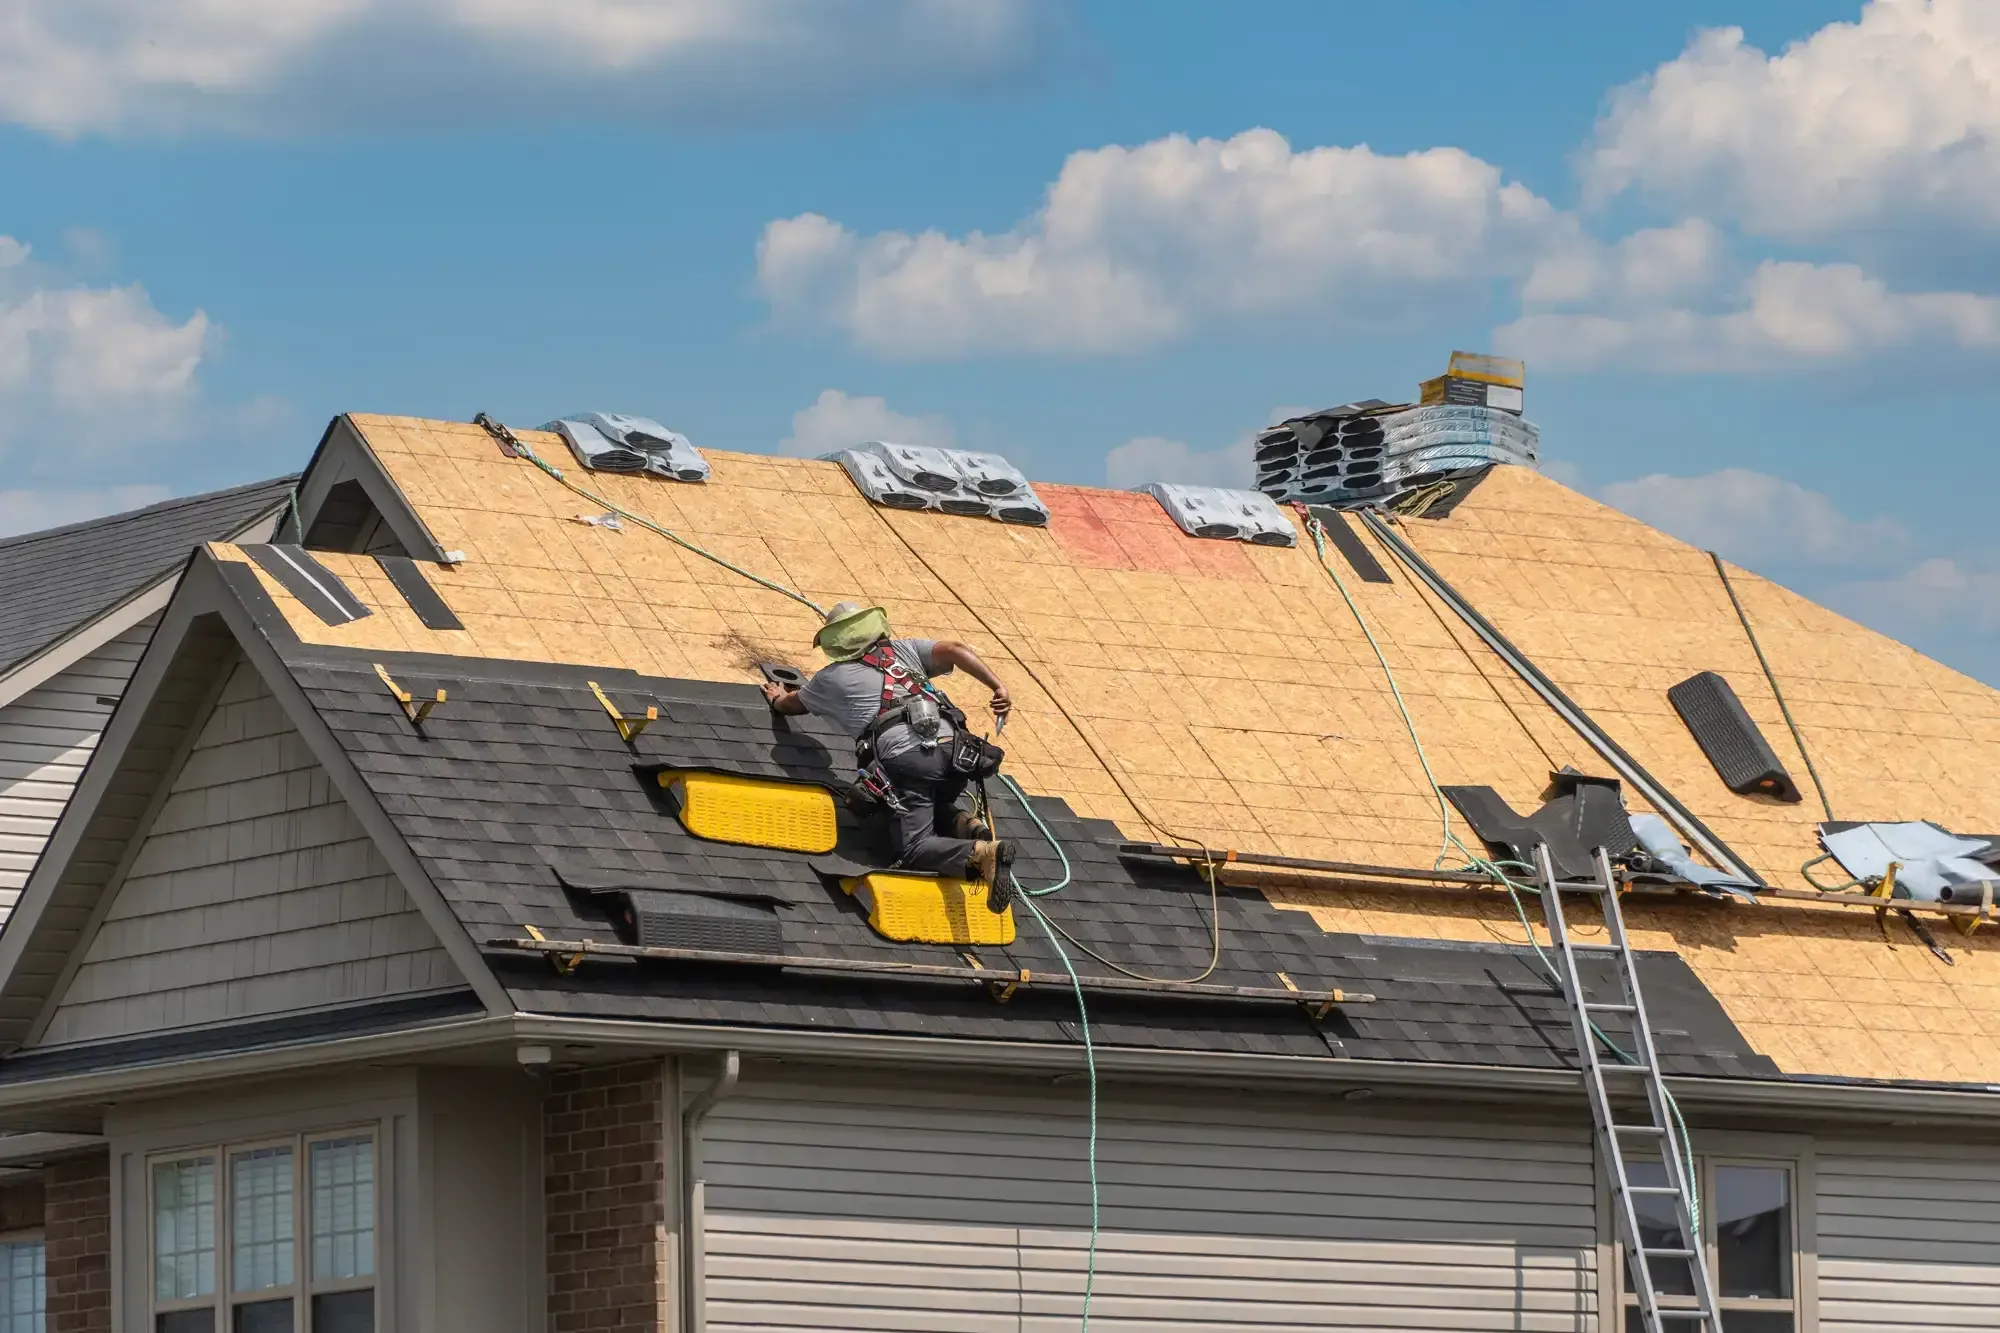
Laying Metal Roofing: Installation Process and Quality Standards
Standing seam installation follows a specific sequence, and each step affects long-term performance. It starts with complete removal of your old roofing material down to the roof deck. Some contractors suggest installing over existing shingles to save money, but that approach creates problems. You can’t inspect the deck for damage, uneven surfaces cause panel buckling, and trapped moisture between old and new roofing accelerates deterioration.
Once the deck is clean and any damaged sections are replaced, high-quality underlayment goes down. This isn’t the old tar paper your grandfather used—modern synthetic underlayment provides a waterproof secondary barrier. In Monmouth County’s humid climate, this layer matters. It protects against condensation, handles any water that might get past panels during extreme weather, and extends the overall system’s weather resistance.
Eave trim and drip edge installation comes next, creating a straight, level foundation for panel alignment. This step determines whether your panels run true from eave to ridge. If the starting line is off, every panel compounds that error. Experienced installers use the 3-4-5 triangle method to square the roof before placing the first panel, ensuring panels don’t drift at undesirable angles.
Panel Attachment and Seam Formation Techniques

The first panel placement sets the standard for the entire roof. It must align perfectly square to the eave, with the male leg positioned for the next panel to interlock. Clips attach along this first panel at specified intervals, fastening to the roof deck while leaving the panel free to move thermally. Get this panel wrong, and every subsequent panel inherits the mistake.
As each panel goes down, it interlocks with the previous one through the raised seam. The installer positions the new panel so its female edge engages the male leg of the installed panel. For snap-lock systems, firm pressure along the panel length clicks the connection into place. You’ll hear a distinct snap when it seats properly. Mechanical lock systems require running a hand seamer along the full length, crimping the two edges together into a weather-tight seam.
Consistent seaming pressure matters more than most homeowners realize. Gaps in the seam—even small ones—allow water infiltration and reduce wind uplift resistance. An experienced installer maintains steady, even pressure whether hand-seaming or using power seamers. The finished seam should show uniform height and tightness from top to bottom. Variations in seam quality are visible once you know what to look for.
Thermal movement considerations affect how panels attach at the ridge. Most standing seam systems use a “fixed” end at the ridge and a “free” end at the eave. This allows the panel to expand and contract in one direction as temperatures change, rather than stressing fasteners in multiple directions. The clips at the eave allow this movement while maintaining attachment. It’s a detail that prevents panel buckling and fastener failure over time.
Valley installation requires particular attention in Monmouth County’s heavy rainfall climate. Water concentrates in valleys, creating high-volume runoff during storms. Proper valley trim installation happens before panels reach the valley area, with trim extending at least 8 inches on either side of the centerline. Panels cut and finish into this valley trim, directing water flow without creating penetration points. Poor valley work shows up quickly in leaks during the first major rain event.
Standing Seam Steel Roof: Material Selection and Coastal Durability
Steel remains the most popular choice for standing seam metal roofs in residential applications, offering the best balance of performance, durability, and cost. Galvalume steel—steel coated with a zinc-aluminum alloy—provides excellent corrosion resistance for coastal environments. That coating protects the base metal from salt air exposure that would otherwise cause rust and degradation.
The steel itself comes in 24-gauge thickness for standing seam applications. This gauge provides structural strength to span between clips without visible flexing or oil-canning. Thinner gauges work for exposed fastener systems because the screws provide additional support, but standing seam panels need that inherent rigidity. The weight difference is noticeable—24-gauge steel panels feel substantial compared to thinner alternatives.
Paint finish selection determines how your roof looks in 10, 20, or 30 years. PVDF (Kynar 500) finishes are the premium option, offering 30+ year warranties against excessive fading and chalking. These fluoropolymer coatings resist UV breakdown, salt exposure, and the constant humidity of coastal New Jersey. Standard polyester or SMP finishes cost less but show visible aging sooner. Given that the roof should last 40-70 years, choosing the premium finish makes sense.
Color choice affects more than aesthetics—it impacts your home’s energy efficiency. Lighter colors reflect more solar heat, reducing attic temperatures and cooling costs during Monmouth County’s humid summers. Darker colors absorb more heat, which can benefit homes in colder climates but works against you here. Reflective coatings on metal roofing can reduce cooling costs by 10-25% compared to heat-absorbing asphalt shingles.
Steel’s performance in New Jersey’s weather extremes demonstrates why it’s the preferred material. It handles snow loads without damage, sheds ice to prevent dam formation, and withstands wind speeds exceeding 140 mph when properly installed. The material doesn’t crack in freeze-thaw cycles like some roofing options. It won’t rot, support mold growth, or provide habitat for insects. These characteristics matter in a climate with four distinct seasons and occasional extreme weather events.
Cost considerations make steel the practical choice for most homeowners. Aluminum costs 15-20% more and offers benefits primarily in direct salt spray zones within a few blocks of the ocean. Copper and zinc are premium metals with 100+ year lifespans, but at $20-$35 per square foot installed, they’re three to four times steel’s cost. For the typical Monmouth County home, Galvalume steel with a PVDF finish delivers optimal value—proven performance at a price point that makes sense.
Choosing the Right Standing Seam Metal Roof System
A standing seam metal roof offers measurable advantages over traditional roofing materials—40-70 year lifespan, superior weather resistance, energy efficiency, and minimal maintenance requirements. For Monmouth County homes facing coastal conditions, these benefits address real challenges that accelerate typical roofing failures. The concealed fastener design, proper material selection, and quality installation create a system that protects your home for decades.
The investment makes sense when you look at total cost of ownership. You’ll replace an asphalt roof 2-3 times over the lifespan of one metal roof. Factor in the repeated installation costs, disposal fees, and disruption to your home, and the premium for metal roofing becomes more reasonable. Add energy savings from reflective surfaces and potential insurance discounts for impact-resistant materials, and the financial case strengthens further.
Contractor selection determines whether you get the performance this roofing system can deliver. Experience with standing seam installation, proper licensing and insurance, detailed written proposals, and verifiable references separate qualified professionals from those learning on your investment. When you’re looking at a roof that should last half a century, taking time to find the right installer protects that investment. We bring over 40 years of local Monmouth County experience, owner-supervised installation, and industry-leading warranties to every standing seam project—the kind of expertise that turns a premium material into a premium result.